Okay. You made the channel. You see your name on YouTube. You feel good.
But now what?
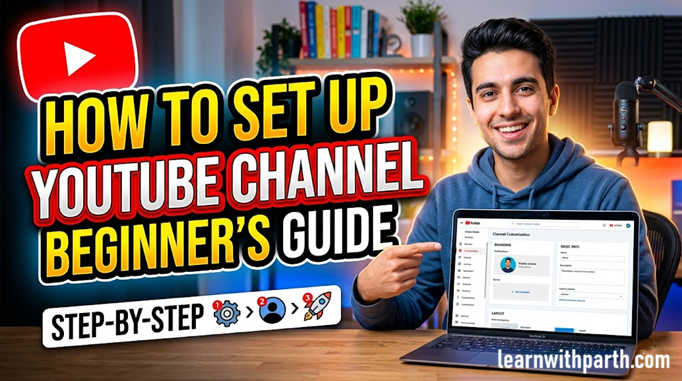
Most people stop right here. They just start uploading videos with zero setup. And then they wonder why nothing is working. Here is the truth — creating the channel is only step one. What you do right after that is what actually matters.
So let me show you exactly what to do, step by step. Do all of this before you upload a single video.
Step 1: Verify Your Phone Number
This is the first thing you need to do. Go to YouTube Studio, then go to Settings → Channel → Feature eligibility.
Click the button that says "Verify phone number." YouTube will send a code to your phone. Put that code in.
Why does this matter? Because without this, you cannot upload custom thumbnails. And thumbnails are one of the biggest things that make people click on your videos. Do this first. Right now.
Step 2: Add a Profile Picture
Your profile picture is the small round image people see next to your name. Everywhere on YouTube.
Use a clear photo of your face — or your logo if it is a brand channel. Make it simple. Make it easy to see even when it is very small. A blurry or dark photo looks bad and people will not trust your channel.
Go to YouTube Studio → Customization → Branding and upload your photo there.
Step 3: Add a Channel Banner
The banner is the big wide image at the top of your channel page. Think of it like a shop sign.
It tells people: "This is what this channel is about." Use a free tool like Canva — they have a free YouTube banner size already set up. Add your channel name and one simple line about what you make videos on.
Keep it clean. Do not put too many words on it.
Step 4: Write Your Channel Description
Go to Customization → Basic info and find the Description box.
Write 3 to 5 lines here. Tell people: who you are, what your channel is about, and how often you post videos. That is all. Do not write a long story. People read only the first two lines anyway.
A good example looks like this:
"I make simple videos about cooking at home. New video every Friday. If you like easy food, you are in the right place."
Short. Clear. Done.
Step 5: Set Your Channel Handle
Your handle is your @name — like @YourChannelName. This is how people find you and tag you on YouTube.
Go to Basic info and look for the Handle section. Pick something short and easy to remember. Try to use the same name across YouTube, Instagram, and other platforms — this makes it easier for people to find you everywhere.
Step 6: Add a Contact Email
This one most people skip. Big mistake.
Go to Basic info and scroll down to find the email section. Add an email there — this is the email brands and other people will use to reach you for work.
Even if you are just starting, add an email. You want to look serious from day one.
Step 7: Fix Your Default Upload Settings
This is a secret that most beginners miss completely.
Go to YouTube Studio → Settings → Upload defaults. Change the default privacy to "Unlisted."
Why? Because when you upload a video, YouTube will not make it public by accident. You get to check everything first — the title, the thumbnail, the description — and then you make it public. This saves you from small mistakes that can look very bad.
Step 8: Set the "Made for Kids" Option
Go to Settings → Channel → Advanced settings.
YouTube will ask you: is your channel made for kids?
If your videos are for children — cartoons, kids stories, that kind of thing — click Yes. If your videos are for everyone or for adults, click No.
This is important because it changes what features are on your videos. Get it wrong and you lose features like comments. So take 10 seconds and set it correctly.
Step 9: Set Up Your Channel Layout
Go to Customization → Layout.
Here you can add a Channel Trailer — this is a short video that plays for people who have never seen your channel before. It should be 30 to 60 seconds long. Tell people who you are and why they should stay.
You can also add Featured Sections below your trailer. These are rows of videos on your channel page — like "Popular Videos" or "Latest Videos." This makes your channel look full and active, even when you only have a few videos.
Step 10: Link Your Other Social Media
Go to Customization → Basic info and scroll down to find the links section.
Add links to your Instagram, Twitter, or any other page you use. These links show up on your channel banner.
Why? Because when someone new finds you and likes what they see, they want to follow you in other places too. Make it easy for them to do that. The more places people can find you, the faster your community grows.
Now You Are Ready
That is it. Ten steps. None of them are hard. But most people skip all of them and then wonder why their channel looks empty and unprofessional.
Do these ten things today, before you upload your first video. Think of it like setting up your room before you invite guests. You would not invite people into a messy room, right?
Your channel is the same.
Set it up right. Then go make great videos. That is the whole game.